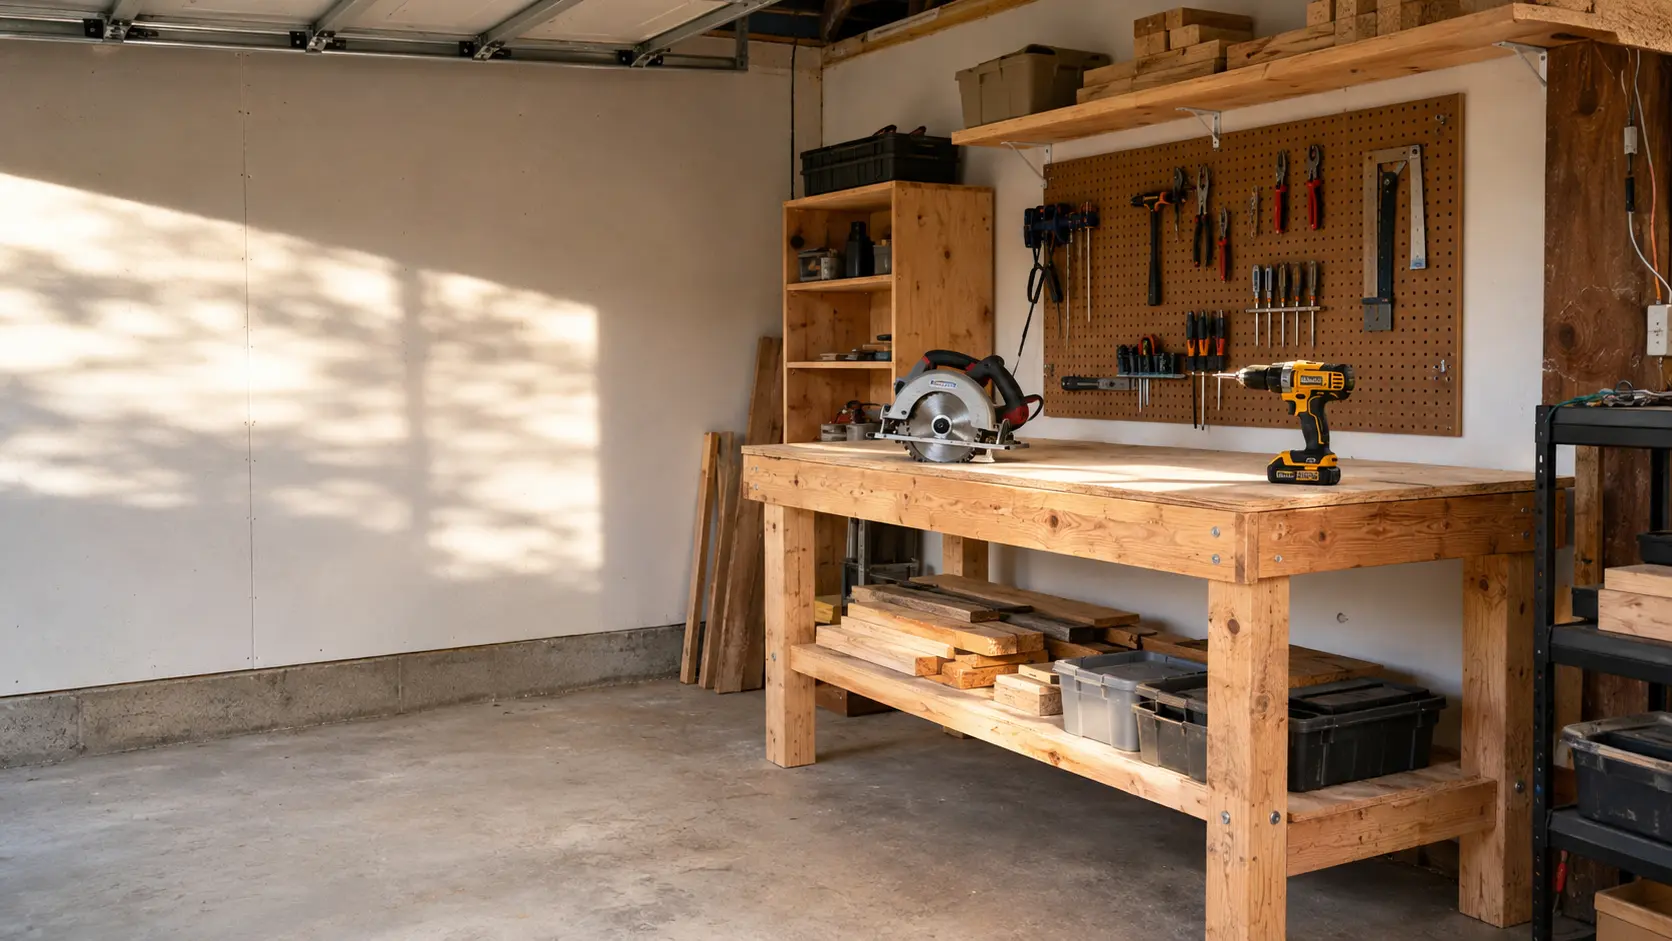
Can You Start Woodworking With Just a Circular Saw and Drill?
Yes—you can start woodworking with a circular saw and drill if you mean two power tools. If you mean literally owning only those two items, the answer is no. You will also need a tape measure, square, straightedge, clamps, bits, safety equipment, a stable way to support the wood and some way to sand it.
With that small supporting kit, you can build shelves, boxes, planters, simple benches and basic storage projects. You will be limited to designs based mostly on straight cuts and screw assembly, but you do not need a table saw or a fully equipped shop to begin.
The short answer
| Question | Practical answer |
|---|---|
| Are a circular saw and drill enough to begin? | Yes, as your first two power tools. |
| Are they literally the only tools you need? | No. Measuring, clamping, safety and sanding tools are still necessary. |
| What can you build? | Straight-cut shelves, boxes, planters, benches and basic storage. |
| What will be difficult? | Curves, repeated identical cuts, fine joinery and furniture-grade precision. |
| Do you need a dedicated shop? | No, but you need a clear and stable work area. |
| Do you need a table saw? | Not for your first projects. |
| Realistic starter budget | Roughly $180–$350 for a basic setup, or $300–$600 for a more practical cordless setup. |
What “just two tools” really means
When a project is described as a “two-tool build,” it usually means two power tools. The person building it still measures the boards, marks square lines, clamps the workpiece, changes bits, drives fasteners, supports the wood and sands the finished surfaces.
That distinction matters because beginners can otherwise buy a saw and drill, bring home lumber and immediately discover that they cannot make a controlled cut.
A circular saw and drill are a sensible core. They are not a complete workshop by themselves.
The minimum supporting kit
| Item | Why you need it |
|---|---|
| Tape measure and pencil | Measure and mark parts before cutting. |
| Speed square | Mark square crosscuts and help guide short cuts. |
| Straightedge or saw guide | Guide longer cuts, especially in plywood. |
| Clamps | Keep the guide and workpiece from moving. |
| Drill and driver bits | Drill pilot holes and drive the fastener used by the plan. |
| Appropriate saw blade | Match the blade to the saw, material and desired cut quality. |
| Safety glasses | Protect against chips and flying debris. |
| Hearing protection | Reduce noise exposure while cutting and drilling. |
| Appropriate dust protection | Reduce exposure when the material and cutting conditions generate harmful dust. |
| Stable work support | Support the wood without trapping the blade or allowing the material to shift. |
| Sandpaper and sanding block | Remove rough edges and prepare the surface for finish. |
Fasteners, wood glue and finishing supplies are project materials rather than tools, but they still belong in the budget.
What each power tool can do
Circular saw
A handheld circular saw is primarily a straight-cutting tool. With the correct blade and setup, it can make crosscuts across a board, rip cuts along its length and long cuts through sheet goods such as plywood. Some models can also make bevel cuts.
The saw becomes much more useful when paired with a square or clamped straightedge. Those guides do not turn it into a table saw, but they can make a major difference in cut quality.
Capacity varies by saw, blade, material and cut angle. Check the manual for the exact tool rather than assuming every circular saw can cut the same stock.
Drill/driver
A drill/driver covers two essential jobs:
- drilling pilot holes and other openings;
- driving screws during assembly.
Pilot holes can reduce splitting, especially near the end of a board. A countersink bit can also help the screw head sit below or flush with the surface when the plan calls for it.
You do not need an impact driver on day one. It can make repeated fastening easier, but a suitable drill/driver can handle drilling and screw driving for many small beginner projects.
What can you realistically build?
The best projects for this setup use common boards, straight cuts and simple screw-based assembly. They should also tolerate small cosmetic variations while you learn to measure and cut accurately.
| Project | Why it fits | Main caution |
|---|---|---|
| Simple wall shelf | Few parts and straight cuts | Use mounting hardware appropriate for the wall and expected load. |
| Open storage box | Teaches measuring, drilling and square assembly | Narrow parts must be clamped and supported safely. |
| Planter box | Straight cuts and forgiving outdoor construction | Use materials, fasteners and finish suitable for exterior exposure. |
| Basic garage shelving | Useful and easy to customize | Do not guess at structural capacity or overload it. |
| Simple bench | Introduces repeated parts and checking for square | Choose a tested plan and avoid complicated angles. |
| Compact worktable | Creates a useful future work surface | Stability matters more than appearance. |
Start with plans that list every cut, fastener and material. A project advertised as “beginner-friendly” may still quietly require a nailer, pocket-hole jig, jigsaw, router or sander. Read the entire tool list before buying lumber.
If you want specific options, continue to 7 Beginner Projects You Can Build With Basic Tools.
What these tools do not do well
A small setup works because you choose projects around its limits—not because the limits disappear.
Curves and interior cutouts
A circular saw is designed primarily for straight cuts. A jigsaw is the more appropriate next tool when projects require curves or controlled interior cutouts.
Repeated identical crosscuts
You can make repeated cuts with a circular saw, square and carefully positioned stop or guide. It is slower and less convenient than using a correctly set up miter saw with a stop block.
Narrow rip cuts
Long, narrow pieces can be awkward or unsafe to support and clamp. It is often better for a beginner to buy boards close to the required width or ask the store or lumber supplier about cutting services.
Treat store cuts as rough sizing unless you have verified their accuracy.
Fine joinery
Dovetails, mortise-and-tenon joints, precise dados and furniture-grade panel glue-ups require more skill, different tools or both. That does not prevent you from woodworking; it simply means those should not be your first design requirements.
Fast, furniture-grade results
Possible does not mean fast, convenient or perfectly repeatable. Specialized tools exist because they make specific operations easier and more consistent.
How to get better cuts from a circular saw
Cut quality depends at least as much on setup as it does on the price of the saw.
- Read the manual first. Learn the controls, guard operation, blade-changing procedure and model-specific warnings.
- Use the correct, undamaged blade. The blade must match the saw and the material.
- Support and secure the workpiece. It should not shift, sag or close around the blade during the cut.
- Use a guide. A square works for many short crosscuts; a clamped straightedge can guide longer cuts.
- Mark the waste side. The blade removes material, so account for the kerf instead of cutting through the center of the measurement line.
- Keep the saw’s shoe flat. Do not twist or force the saw through the work.
- Practice on scrap. Confirm the guide offset and cut behavior before cutting an important part.
- Wait for the blade to stop. Do not set the tool down or reach near the cut while the blade is still moving.
The Occupational Safety and Health Administration identifies blade contact, kickback and flying particles as important circular-saw hazards. It also notes the need for functional guards, the proper blade and eye protection. Although OSHA rules are written for workplaces, the hazards do not disappear in a home garage. Follow the manufacturer’s manual for your specific tool.
Never wedge the lower guard open or defeat another safety feature. Unplug a corded saw or remove its battery before changing the blade or performing adjustments that require the tool to be de-energized.
The smallest workable space
You do not need a permanent shop, but the work area must be large enough for the material—not merely large enough for the saw.
A practical temporary setup needs:
- a flat, clear area with adequate lighting;
- stable support for the workpiece;
- enough clearance to complete the cut without hitting a wall, vehicle or stored item;
- room to keep the cord, battery, clamps and guide away from the blade path;
- a way to control sawdust and clean up afterward;
- separation from children, pets and bystanders;
- dry conditions and suitable power access.
A driveway, one side of a garage or a temporary outdoor work area may be enough for small projects. Wind, rain, poor lighting, uneven ground or the inability to control other people entering the area can make an otherwise large space unsuitable.
For a complete layout process, see How to Set Up a Small Woodworking Shop.
How much does this starter setup cost?
Prices vary by brand, location, battery platform and promotion. The ranges below are planning estimates for the US market researched in August 2026, before tax, shipping, lumber and project materials.
| Setup | What it assumes | Planning range |
|---|---|---|
| Basic route | Entry-level drill kit, corded circular saw and basic supporting tools | $180–$350 |
| Practical cordless route | Drill and cordless saw with batteries/charger, better clamps and broader bit selection | $300–$600 |
| Existing household tools | You already own measuring tools, PPE, clamps or a suitable drill | Potentially below these ranges |
Current listings show why a single price is misleading. Entry-level drill kits can be found around $30–$100, while a corded 7-1/4-inch circular saw may be around $79. A cordless bundle with a drill, circular saw, batteries and charger can move into the $300 range or higher. Promotions can temporarily change these numbers by a large amount.
Before buying a cordless tool, confirm whether the listing includes a battery and charger. A low-priced “tool only” saw may not be a low-priced working setup if you do not already own compatible batteries.
Do not spend the entire budget on the two power tools. A saw without clamps, a guide, eye protection and stable support is not a complete beginner setup.
See How Much Does It Cost to Start Woodworking? for a full category-by-category budget.
Corded or cordless?
Neither is automatically the right answer.
A corded circular saw may make sense when:
- the purchase price matters more than portability;
- you have reliable power near the work area;
- you do not mind managing an appropriate extension cord;
- you expect longer cutting sessions.
A cordless system may make sense when:
- you work in a driveway or shared space;
- cord management would interfere with the setup;
- fast setup and storage are priorities;
- you plan to add compatible tools later.
With cordless tools, compare the entire battery system—not just the price of the first tool. Batteries and chargers can represent a meaningful part of the long-term cost.
What should you buy next?
Do not follow a universal “top ten tools” list. Let the next project expose the next limitation.
| If your main problem is… | Consider… |
|---|---|
| Hand sanding takes too long | A random orbital sander |
| Repeated crosscuts are inconsistent | A miter saw, if you have the room |
| You need curves or cutouts | A jigsaw |
| Long straight cuts wander | A better straightedge or compatible guide system |
| Dust is becoming difficult to control | Appropriate dust collection or extraction |
| Repeated ripping is central to your projects | A table saw only after evaluating space, training and safety requirements |
For many beginners, a random orbital sander is the first quality-of-life upgrade. For someone building shelves with many identical parts, a miter saw may solve a more important problem. A table saw is not an automatic third purchase—especially in a small shop.
Bottom line
A circular saw and drill are enough to start woodworking as your first two power tools. They can support a surprising number of useful projects when the designs rely on straight cuts, common lumber and screw assembly.
But “two tools” is shorthand, not the full shopping list. You still need measuring tools, clamps, bits, safety equipment, stable support and a sanding method. You also need to accept slower work and less repeatability than a larger shop can provide.
Start with a project designed around the tools you own. Learn to measure, support the work, make a controlled cut and assemble parts square. Buy the next tool only when a real project gives you a reason.
Sources and methodology
This guide is based on manufacturer safety instructions, public safety guidance, current US retail listings and an analysis of the operations required by beginner projects. The Practical Woodshop did not claim to test the tools or build the example projects described here.
- OSHA: Handheld Saws
- OSHA: Handheld Circular Saws
- Makita circular saw instruction manual
- DeWalt: Power Tool Safety
- Home Depot: How to Use a Circular Saw
- Lowe’s: How to Assemble a Basic Tool Set
- Home Depot: Circular Saw and Power Tool Listings
- Harbor Freight: Power Tool Combo Kits
Prices were researched on August 21, 2026. Retail prices, promotions and availability can change without notice.