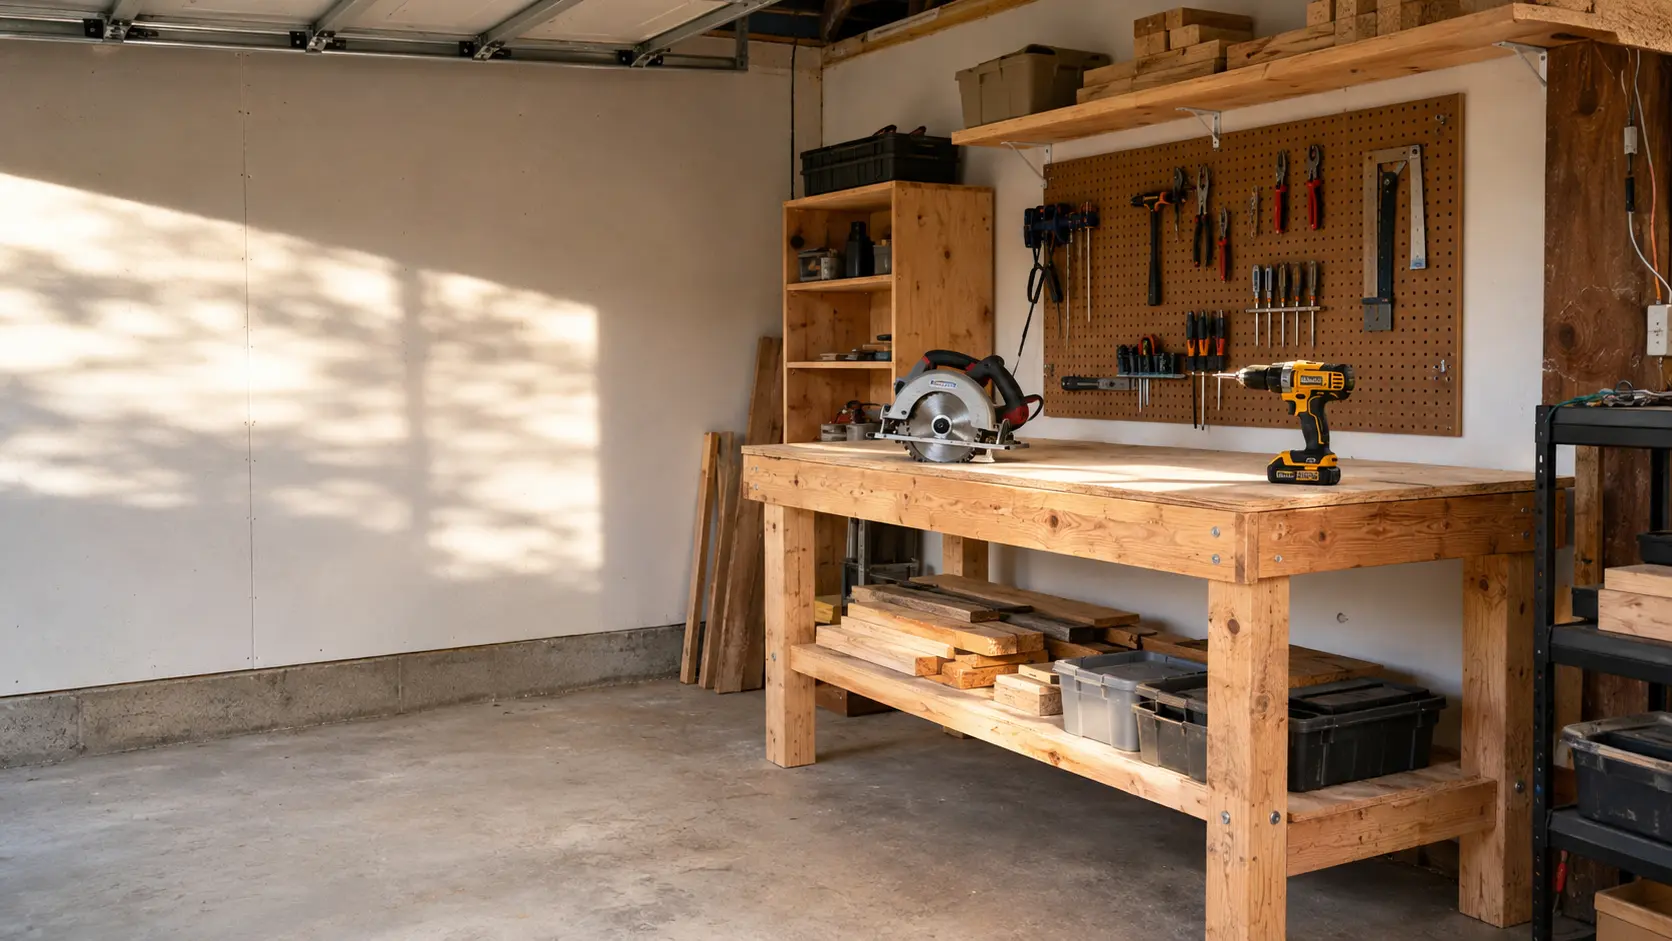
How to Set Up a Small Woodworking Shop
Start by planning the work you need to do—not by filling the room with tools. A functional small woodworking shop needs a stable work surface, safe clearance around each operation, suitable power and lighting, dust capture near the source, accessible storage and enough open floor area to handle your material.
You can create that setup in one side of a garage, along a single wall or as a temporary shop that packs away after each project. Build it in stages around real projects. A small shop is a workflow, not a tool collection.
Small-shop setup at a glance
| Priority | Practical starting point |
|---|---|
| Space | Measure the usable area and the longest material you expect to handle. |
| Work surface | One stable bench, folding table or pair of appropriate sawhorses. |
| Tools | Buy only what the first projects require. |
| Power | Use suitable grounded outlets and cords; consult an electrician when capacity or condition is uncertain. |
| Lighting | Combine general room lighting with focused light at the work area. |
| Dust | Capture dust near the tool and clean the shop regularly. |
| Storage | Use wall space while keeping heavy items at a safe height. |
| Budget | Roughly $150–$450 for basic shop infrastructure if you already own the core tools. |
There is no universal minimum square footage. A shop that builds small boxes from pre-sized boards needs much less operating space than one that breaks down 4-by-8-foot sheet goods. Tool footprint is only one part of the calculation; the material needs room to enter, pass through and leave the cutting area.
Step 1: Define what “small shop” means for you
Before buying a bench or hanging shelves, document the space you actually control.
Measure and note:
- total floor dimensions;
- doors, windows, stairs and garage-door tracks;
- outlets and fixed lighting;
- water heaters, electrical panels, laundry equipment and other areas that must remain accessible;
- the path from material storage to the work surface;
- ceiling height and overhead obstructions;
- items that already share the space;
- the longest boards or panels you expect to use;
- whether the setup must make room for a vehicle after each session.
Then list the first two or three projects you realistically intend to build. A wall shelf and planter box lead to a different shop than cabinets or a dining table.
Do not design around a future collection of machines you may never own.
Step 2: Choose the right shop model
Most beginner small shops fit one of three models.
| Shop model | Best for | Strength | Main limitation |
|---|---|---|---|
| Temporary setup | Patio, driveway or shared garage | Lowest commitment and easy to reclaim the space | Setup and cleanup happen every session |
| One-wall shop | A garage wall, basement edge or utility area | Tools and storage stay organized in a narrow zone | Long material may extend into shared space |
| One-car garage shop | More frequent projects and larger assemblies | Room for a permanent bench and mobile stations | Vehicles, storage and shop operations can conflict |
Temporary setup
A temporary setup may use folding sawhorses, a removable top, portable tools and bins that return to shelves when the project ends.
This works well when:
- you build occasionally;
- a car must return to the garage;
- permanent wall storage is not allowed;
- you need to work outdoors for clearance.
The weakness is friction. If setup takes 45 minutes and tools are scattered across several closets, short work sessions become difficult. Store the temporary shop as one system: support, clamps, guide, power, cleanup and safety equipment should be easy to retrieve together.
One-wall shop
A one-wall shop concentrates the bench, hand tools, chargers and storage along a single wall while preserving open floor space.
This model favors:
- a shallow bench or fold-down work surface;
- vertical storage;
- tools that can be placed on the bench only when needed;
- mobile or stackable support;
- clear floor space in front of the wall.
Do not make the wall so dense that every tool requires moving three other items before use.
One-car garage shop
A one-car garage allows a more permanent workflow, but it is still a shared residential space in many homes.
Mark separate zones for:
- shop operations;
- vehicle clearance;
- household storage;
- doors and emergency exit paths;
- utilities that require service access.
If a vehicle prevents safe material handling or operator clearance, move it before working. A larger room does not make an obstructed setup safe.
For a detailed shared-garage plan, see How to Organize a One-Car Garage Woodworking Shop.
Step 3: Plan operating clearance, not just tool footprints
A circular saw may fit in a cabinet. Cutting an eight-foot board with it does not.
For each planned operation, think in six parts:
- Material entry: Where is the uncut piece before the operation?
- Work support: What keeps it stable and properly supported?
- Tool movement: Where does the tool or workpiece travel?
- Operator position: Can you maintain control without leaning around an obstacle?
- Material exit: Where does the cut piece go?
- Connections: Can the power cord, battery or dust hose stay clear of the cutting path?
Use painter’s tape or cardboard on the floor to test the operating area before anchoring a bench or buying a stationary tool. Simulate the longest expected material with an unpowered setup.
Mobile bases can help, but wheels do not create more floor space. A machine still needs a safe place to operate and a place to park.
Step 4: Build around a simple workflow
A basic woodworking workflow looks like this:
- Bring material into the shop.
- Inspect, measure and mark it.
- Cut parts to size.
- Drill and assemble.
- Sand.
- Apply finish when conditions are appropriate.
- Remove or store the completed project.
- Clean and reset the shop.
In a small shop, one bench may serve several stages. That is efficient only when the surface can be cleared quickly.
Avoid storing tools, offcuts and hardware permanently on the workbench. Every horizontal surface naturally tries to become a shelf. Do not let it win.
Finishing may need a separate location or time because dust, ventilation, temperature, ignition sources and product instructions can conflict with active woodworking. Follow the finish manufacturer’s label and safety data rather than assuming an open garage door makes every product suitable for indoor use.
Step 5: Start with one stable work surface
Your first work surface does not need cabinets, a hardwood top or a row of vises. It needs to remain stable while you measure, clamp and assemble.
Common options include:
- two suitable sawhorses with a replaceable top;
- a portable folding workbench;
- a wall-mounted folding table designed for the expected load;
- a compact fixed bench;
- a mobile assembly table with locking casters.
Evaluate each option by:
- stability in every direction;
- load capacity;
- ability to clamp work securely;
- comfortable working height;
- storage size;
- compatibility with the planned operations;
- whether the floor is level enough for it.
Do not use a lightweight household folding table for operations it was not designed to support.
Current US listings illustrate the range: basic folding sawhorses can cost roughly $14–$27 each, while compact folding or fixed workbenches often start around $100–$140. These are price references, not product recommendations, and promotions vary.
Step 6: Plan power before adding machines
Power planning is not the exciting part of a shop tour, but it is more important than matching storage bins.
At minimum:
- inspect outlets and cords for damage;
- keep grounded plugs and grounding paths intact;
- use cords rated for the tool, load and environment;
- route cords away from blades, wheels, water and walking paths;
- avoid daisy-chaining power strips and extension cords;
- follow tool and dust-extractor instructions;
- stop if plugs, cords or outlets become unusually warm;
- consult a licensed electrician about new circuits, repeated breaker trips or uncertain capacity.
Never remove a grounding pin to make a tool fit an older receptacle. The US Consumer Product Safety Commission warns that connecting a three-prong product through a two-prong cord removes intended protection and increases shock or fire risk.
Do not present a residential extension cord as permanent shop wiring. If the shop routinely depends on temporary cords or cannot run the required equipment without tripping a breaker, solve the electrical limitation before adding more tools.
Step 7: Use layered lighting
Good lighting helps you see layout marks, surface defects, moving parts and obstacles.
A small shop usually benefits from two layers:
General lighting
Provides even visibility across the floor, storage and walking paths. Reduce deep shadows around the bench and machines.
Task lighting
Adds focused light for measuring, assembly, sharpening or inspection. Position it so your head and hands do not cast a strong shadow over the work.
Choose fixtures appropriate for the location and follow installation instructions. Portable lights should not introduce an unstable stand or a new cord across the work path.
Paint color and clean walls can improve reflected light, but they do not compensate for inadequate fixtures.
Step 8: Control dust near the source
An open door is not a complete dust-control system.
Cutting and sanding make airborne particles as well as visible chips. The Occupational Safety and Health Administration notes that wood dust can affect the eyes, nose, throat and respiratory system. OSHA identifies local exhaust ventilation—capturing dust at or near its source—as the primary control method in occupational settings.
For a beginner shop, use a layered approach:
- Connect suitable extraction to compatible tool ports.
- Use the correct hose, filter and collection method for the material and tool.
- Clean surfaces and floors regularly.
- Ventilate when conditions and the process allow it.
- Use appropriate respiratory protection when required.
- Treat an air cleaner as a supplement, not a replacement for source capture.
A wet/dry shop vacuum can be a useful starting point for cleanup and some portable tools, but it is not automatically suitable for every stationary machine or fine-dust application. Match the collection equipment to the manufacturer’s requirements, airflow, filtration and debris involved.
Current compact wet/dry vacuum listings span roughly $100 to $250, with corded, cordless and tool-only configurations. Check whether batteries, filters, bags, hoses and adapters are included before comparing prices.
Do not clean accumulated fine dust by blowing it into the air with compressed air. Remove it using an appropriate vacuum or another method that does not create a dust cloud.
Step 9: Store upward without creating new hazards
Wall storage protects valuable floor area, but not every item belongs overhead.
Good candidates for visible wall storage include:
- measuring and marking tools;
- frequently used hand tools;
- lightweight guides and squares;
- clamps mounted on suitable supports;
- small labeled bins secured against falling.
Store heavy or awkward tools between roughly knee and chest height when practical. Avoid lifting them from above shoulder level or retrieving them from behind other objects.
For lumber and sheet goods:
- support them so they cannot tip or slide;
- account for weight and wall capacity;
- keep material away from heaters, electrical panels and required access;
- do not allow long stock to project into a doorway or walking path;
- avoid building a scrap collection larger than the projects it is supposed to support.
Keep a small, defined scrap area. When it is full, sort it. “This might become a jig someday” is how a one-car shop quietly becomes a zero-car warehouse.
Step 10: Buy tools in project order
Start with the operations your first project requires.
Tools needed now
For many straight-cut beginner projects:
- circular saw;
- drill/driver;
- measuring and marking tools;
- straightedge or guide;
- clamps;
- bits and appropriate blade;
- sanding method;
- safety equipment.
Read Can You Start Woodworking With Just a Circular Saw and Drill? for the complete minimum supporting kit.
Tools that improve convenience
Depending on the project:
- random orbital sander;
- jigsaw;
- miter saw;
- shop vacuum or dust extractor;
- additional clamps;
- better task lighting.
Tools that can wait
A table saw, planer, jointer, drill press, band saw or large dust collector may eventually be valuable. None should enter a small shop merely because a generic “essential tools” article included it.
Before buying a stationary machine, confirm:
- operating clearance;
- electrical requirements;
- dust-collection requirements;
- safe material path;
- training and maintenance needs;
- where the machine will park when not in use.
Step 11: Set a staged budget
The following ranges are planning estimates for the US market researched in August 2026. They exclude tax, shipping, electrical construction, HVAC work, lumber and project materials.
| Stage | Includes | Planning range |
|---|---|---|
| Basic infrastructure | Work support, modest storage, lighting, cleanup and safety items | $150–$450 |
| Functional beginner shop | Basic infrastructure plus drill, circular saw and supporting hand tools | $350–$900 |
| Expandable small shop | Improved bench, storage and dust control plus selected project-driven upgrades | $900–$2,000 |
These stages overlap because ownership and local conditions matter. A person who already owns a drill, shop vacuum and shelving starts in a different position from someone converting an empty garage corner.
Spend first on:
- safe support;
- lighting;
- measuring and clamping;
- dust control and cleanup;
- the tools required by the first project.
Delay spending on:
- matching cabinets;
- large bundles with filler tools;
- stationary machines without assigned projects;
- elaborate mobile bases for tools you do not yet own;
- decorative shop upgrades.
For a broader tool-and-material budget, continue to How Much Does It Cost to Start Woodworking?.
Step 12: Run a safety check before the first project
Before powering a tool, confirm:
- exits and doors remain usable;
- the floor is dry and clear;
- lighting covers the operation;
- work support is stable;
- guards and switches operate as designed;
- cords and hoses are outside cutting and walking paths;
- the workpiece can be secured;
- required PPE is available and fits;
- dust collection or cleanup is ready;
- bystanders, children and pets are outside the work zone;
- finishes, fuels and other flammable materials are away from ignition sources;
- a suitable, maintained fire extinguisher is accessible and you understand when evacuation is safer than attempting to fight a fire.
Wood dust accumulation can become a fire hazard. Finishing oils and other combustible liquids add separate risks. The National Fire Protection Association warns that oily rags can self-heat and ignite if handled improperly. Follow the product label and local fire-safety guidance for storage and disposal; do not leave oily rags piled on a bench or floor.
Common small-shop mistakes
Buying tools before choosing projects
This consumes money and storage while providing no clear workflow.
Ignoring material paths
A machine can fit against the wall and still be unusable because an eight-foot board hits the garage door, water heater or car.
Covering every wall and surface
Storage that blocks outlets, windows, service panels or working clearance creates a new problem.
Depending on mobility to solve overcrowding
If every machine is on wheels but there is no open operating area, the shop is still overcrowded.
Treating a shop vacuum as universal dust collection
Collection equipment must match the tool and dust. A hose that physically fits is not proof that the system is adequate.
Making temporary power permanent
Repeated breaker trips, warm plugs and permanent extension-cord dependence are warnings, not normal shop behavior.
Copying someone else’s layout
Their dominant tools, project size, handedness, doors and storage needs may be different from yours.
A practical setup sequence
You can establish the first version without completing a dream-shop renovation.
- Empty and clean the usable zone.
- Measure fixed obstacles and material paths.
- Choose temporary, one-wall or one-car-garage operation.
- Test clearance with tape and an unpowered tool setup.
- Solve unsafe power or lighting conditions.
- Establish one stable work surface.
- Add only enough storage to clear that surface and the floor.
- Prepare dust capture and cleanup.
- Bring in the tools required for one project.
- Complete a project before making the layout permanent.
The first project will reveal more than another afternoon of arranging boxes. Watch where material piles up, where cords cross your path and which tool is always difficult to reach. Revise the shop around those observations.
Bottom line
A useful small woodworking shop does not require a large room or a complete machine collection. It requires a controlled workflow, stable work support, suitable power and lighting, dust management, accessible storage and enough operating clearance for the material.
Start with one work surface and one realistic project. Test the layout before anchoring it. Add tools only when they solve a repeated problem.
The goal is not to fit the maximum number of tools into the minimum number of square feet. The goal is to make useful projects without the shop fighting you at every step.
Sources and methodology
This guide combines public safety guidance, current US retail listings and an analysis of common beginner-shop operations. The Practical Woodshop did not claim to build or test the example shop configurations described here.
- OSHA: Wood Dust Overview
- OSHA: Wood Dust Control
- OSHA: Woodworking Fire and Explosion Hazards
- US Consumer Product Safety Commission: Home Electrical Safety Checklist
- National Fire Protection Association: Safety With Oily Rags
- Home Depot: Folding Workbenches
- Harbor Freight: Workbenches and Sawhorses
- Lowe’s: Shop Vacuums
Prices were researched on August 22, 2026. Retail prices, promotions and availability can change without notice.